Step-by-Step Guide to Filing ITR in India
Filing Income Tax Returns (ITR) is an essential task for every individual and business in India. The Income Tax Department mandates filing ITR to report an individual’s or business’s income, expenses, and tax liability. In this article, we will provide a comprehensive step-by-step guide on how to file ITR in India.
Read Also: 10 Crucial Considerations for Filing Your ITR in India
Step 1: Gather Necessary Documents
Before starting the ITR filing process, gather the following documents:
- PAN (Permanent Account Number) card
- Aadhaar card
- Form 16 (issued by your employer)
- Form 16A (for TDS on interest, dividends, etc.)
- Form 16B (for TDS on sale of property)
- Form 16C (for TDS on rent)
- Interest certificates from banks and post offices
- Proof of investments (e.g., LIC, PPF, NSC)
- Proof of expenses (e.g., rent, electricity bills)
Step 2: Choose the Right ITR Form
The Income Tax Department provides seven ITR forms (ITR-1 to ITR-7). Choose the appropriate form based on your income sources:
- ITR-1 (Sahaj): For individuals with income from salary, interest, and agriculture
- ITR-2: For individuals with income from salary, interest, and capital gains
- ITR-3: For individuals with income from business or profession
- ITR-4 (Sugam): For individuals with income from business or profession and presumptive taxation
- ITR-5: For partnership firms
- ITR-6: For companies
- ITR-7: For trusts and non-profit organizations
Step 3: Register on the Income Tax Portal

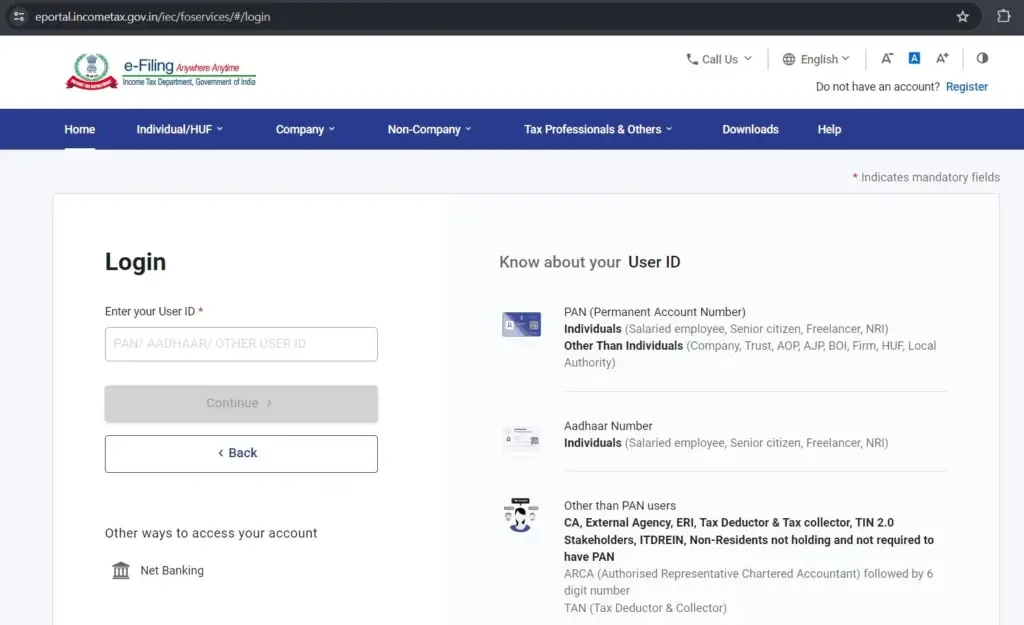
Visit the official Income Tax portal and register yourself:
- Click on “Register” and select “Individual”
- Enter your PAN, name, date of birth, and mobile number
- Verify your email address and mobile number
- Create a username and password
Step 4: Log in and Fill ITR Form
Log in to the portal with your username and password:
- Click on “e-File” and select “Income Tax Return”
- Choose the relevant assessment year and ITR form
- Fill the ITR form with your personal and income details
- Report your income, expenses, and tax liability
- Claim deductions and exemptions
- Verify your details and submit the form
Step 5: Verify and Confirm
Verify your ITR form:
- Check for any errors or discrepancies
- Confirm your details and submit the form
- Receive an acknowledgement number
Step 6: Pay Tax and Interest (if applicable)
If you have any tax liability, pay the tax and interest:
- Use the challan generation tool on the portal
- Pay tax and interest through net banking, debit card, or credit card
Step 7: E-Verify ITR
E-verify your ITR:
- Use your Aadhaar OTP, net banking, or bank account to e-verify
- Receive an email confirmation
Step 8: Receive ITR Processing Status
Check your ITR processing status:
- Log in to the portal and click on “e-File” and “View Returns/Forms”
- Check the status of your ITR
Conclusion
Filing ITR in India is a straightforward process if you follow the steps outlined above. Ensure you gather all necessary documents, choose the right ITR form, and e-verify your return to avoid any errors or delays. Remember to file your ITR before the due date to avoid penalties and interest.
FAQs
- What is the due date for filing ITR?
The due date for filing ITR is July 31st of every year. - Can I file ITR manually?
No, ITR can only be filed online through the Income Tax portal. - What happens if I don’t file ITR?
You may face penalties, interest, and legal action if you fail to file ITR.
By following this step-by-step guide, you can easily file your ITR and comply with the Income Tax laws in India.
“The information provided in this post is for general guidance only and does not constitute professional advice. The author and publisher disclaim any liability for any errors, omissions, or damages resulting from the use of this information. Please consult a qualified professional for specific advice tailored to your situation.”


